Before we start
Before diving into creating your first DPP Template, let’s make sure you have the right foundation. Taking a few moments to prepare will make the process smoother and faster.
🖼️ Upload Media Files
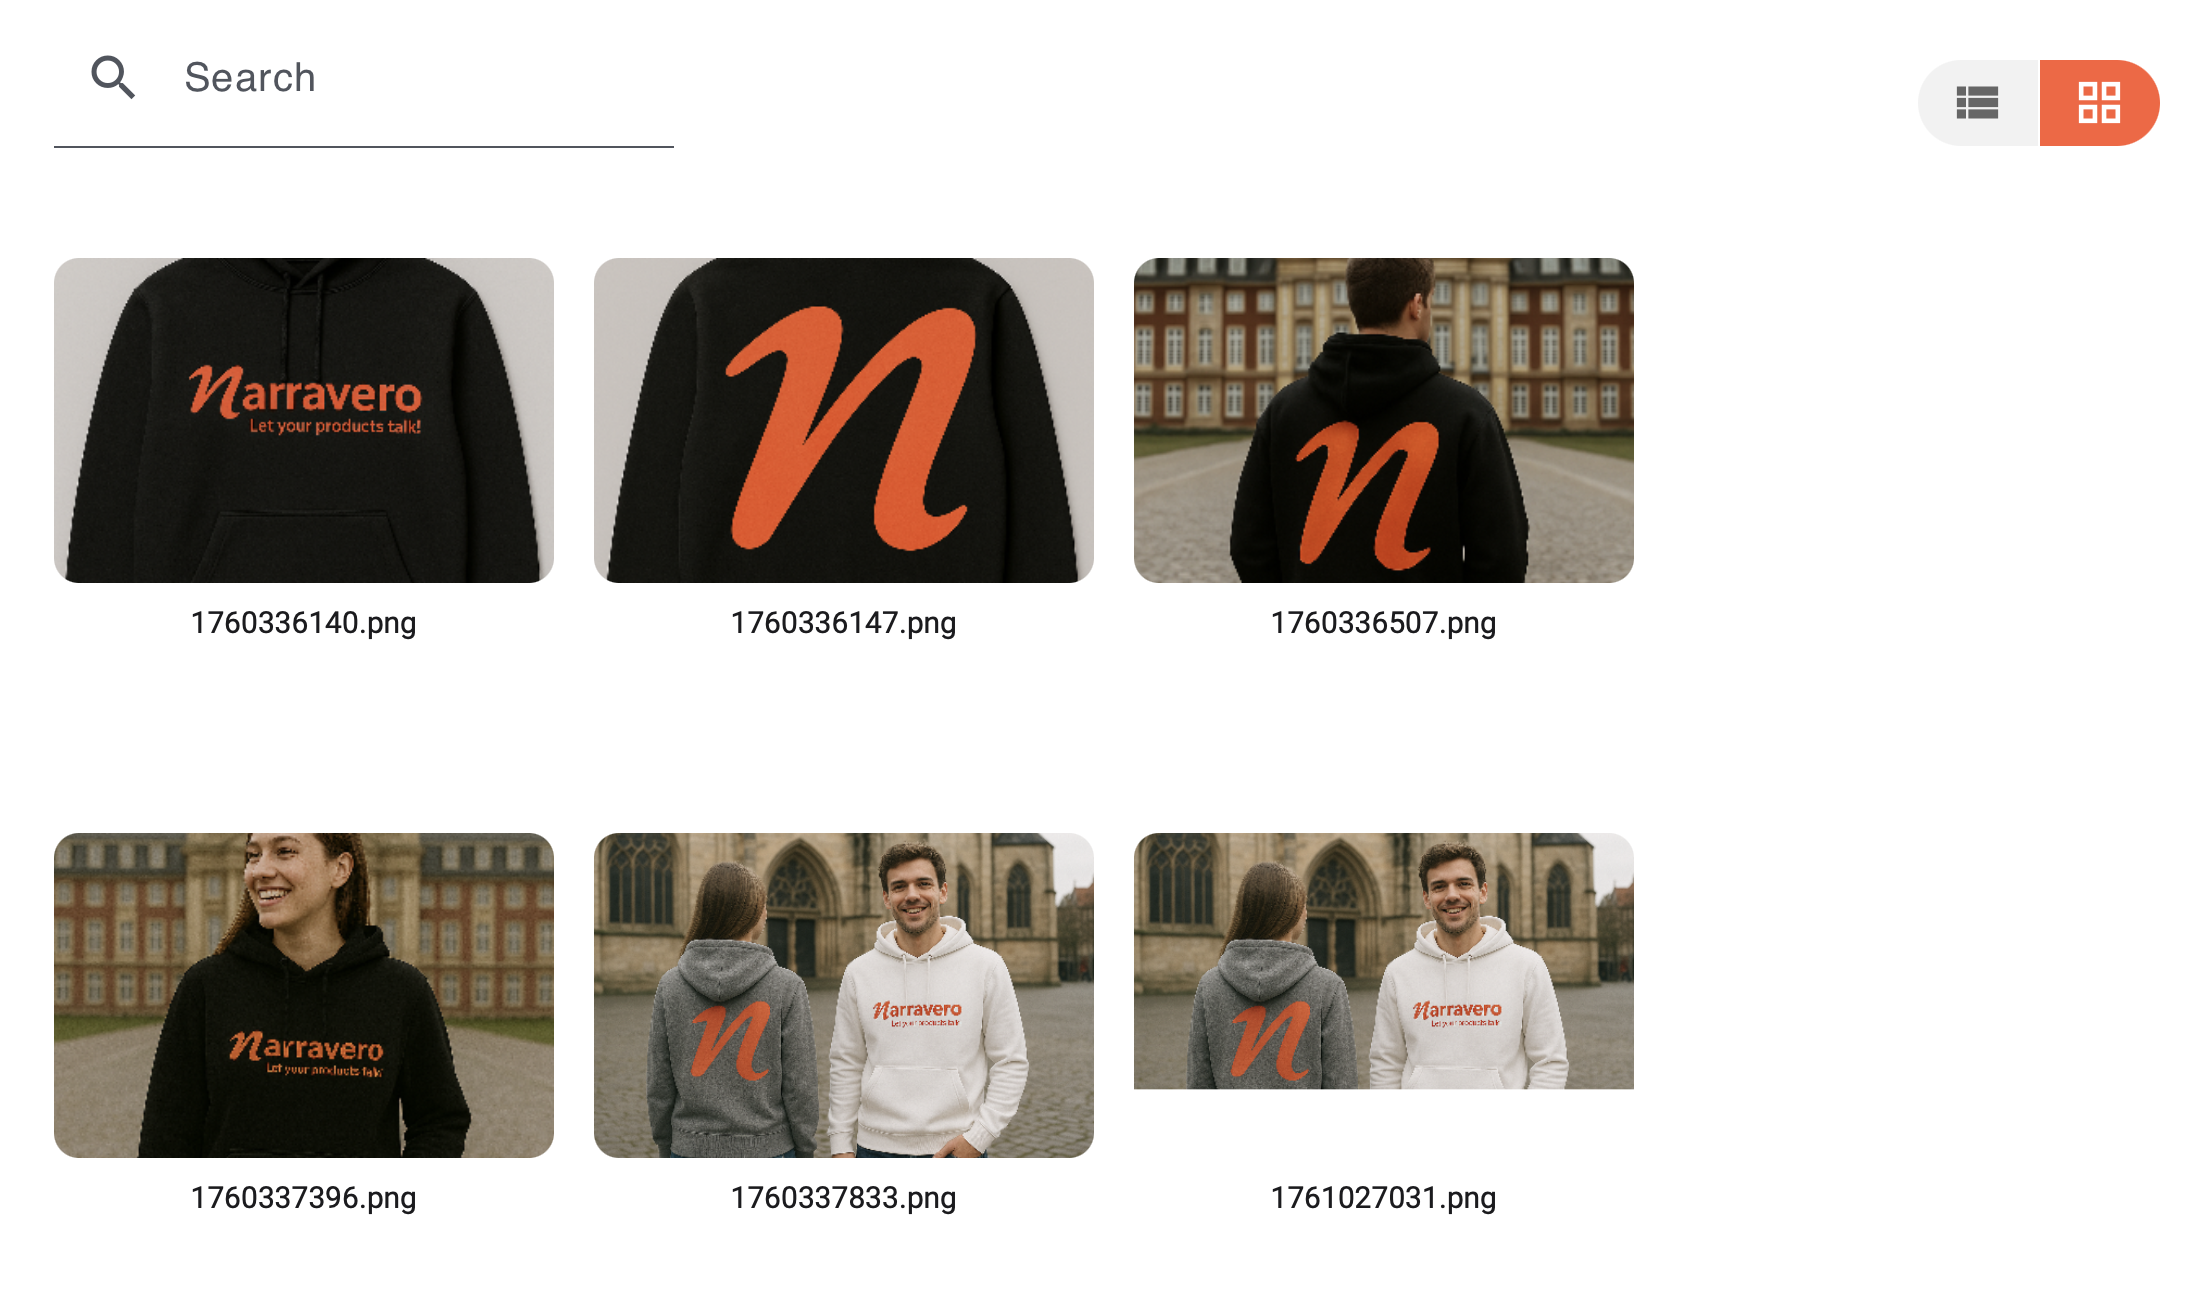
Before designing your DPP, upload all the images you’ll use in the template.
- In the left navigation, go to Media Files.
- Click Upload to add your images.
- These files can now be reused across your template, no need to upload them multiple times.
🎨 Customize Theme Globally
Next, apply your company’s Corporate Identity to the DPP Template. You can follow this Tutorial to guide you through the process.
🚀 Getting Started with Your DPP Template
Let’s start building your first DPP Template.
Step 1: Create a New Template
- Open the DPP Publisher.
- Click Create New Template.
- Enter a name for your template.
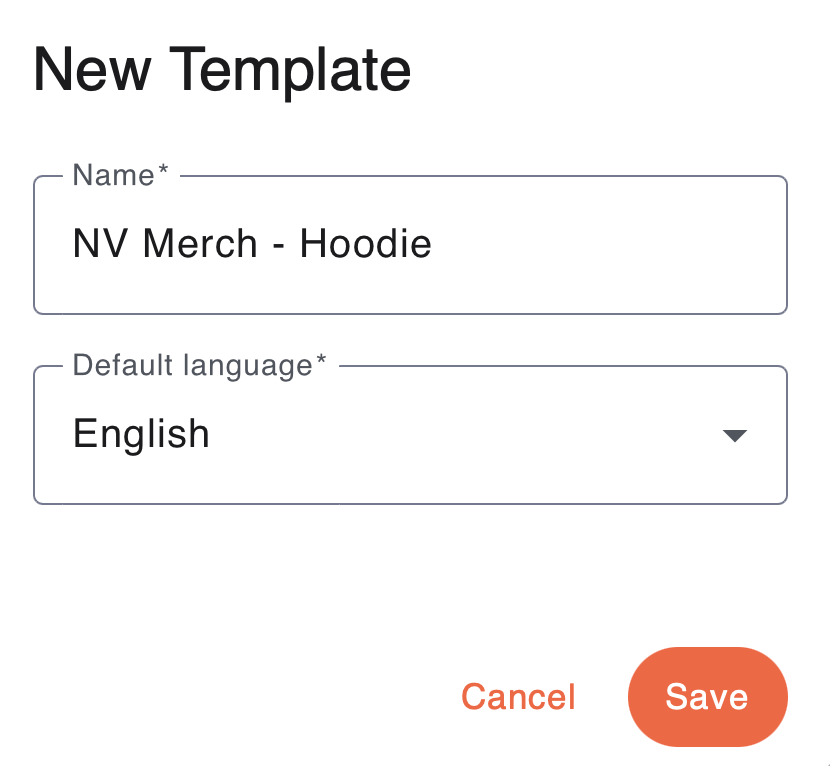
In this example, we’ll use the Narravero Merch Hoodie, one of the bestselling products of the Narravero Merch Company. We set English as the default language for the template. The DPP content will automatically adapt to the user’s device language if it’s supported. If the user’s language is not available, the content will display in the default language.
Once created, you’ll see an empty DPP Preview, ready for you to configure and design.
⚙️ Step 2: Set Up General Settings
Now that you have an empty DPP Preview, let’s configure the essential General Settings before designing your template.
In the top menu of DPP Publisher, you’ll find:
- Translate
- DPP Settings
- Customize Theme
We’ll start with DPP Settings and then move to Customize Theme.
🧩 DPP Settings
- Click DPP Settings in the top menu.
- Enter a Name for your template.
- Add a short Comment describing the use case.
- Choose which Languages the DPP Template will be available in.
In this example, we select German as an additional DPP language. - Click Apply to save your settings.
🎨 Customize Theme
For a DPP Template it is possible to create a customized theme.
- Click Customize Theme.
- Configure your design preferences:
- Widget Design (style and appearance)
- Theme Colors for both light and dark mode
- Fonts for different text elements
🖌️ Step 3: Add Elements to Your DPP Template
Now we’ll start designing the template by adding elements that your customers will see.
1️⃣ Add a Billboard Image
The first element we want customers to see is an image of the Merch Hoodie.
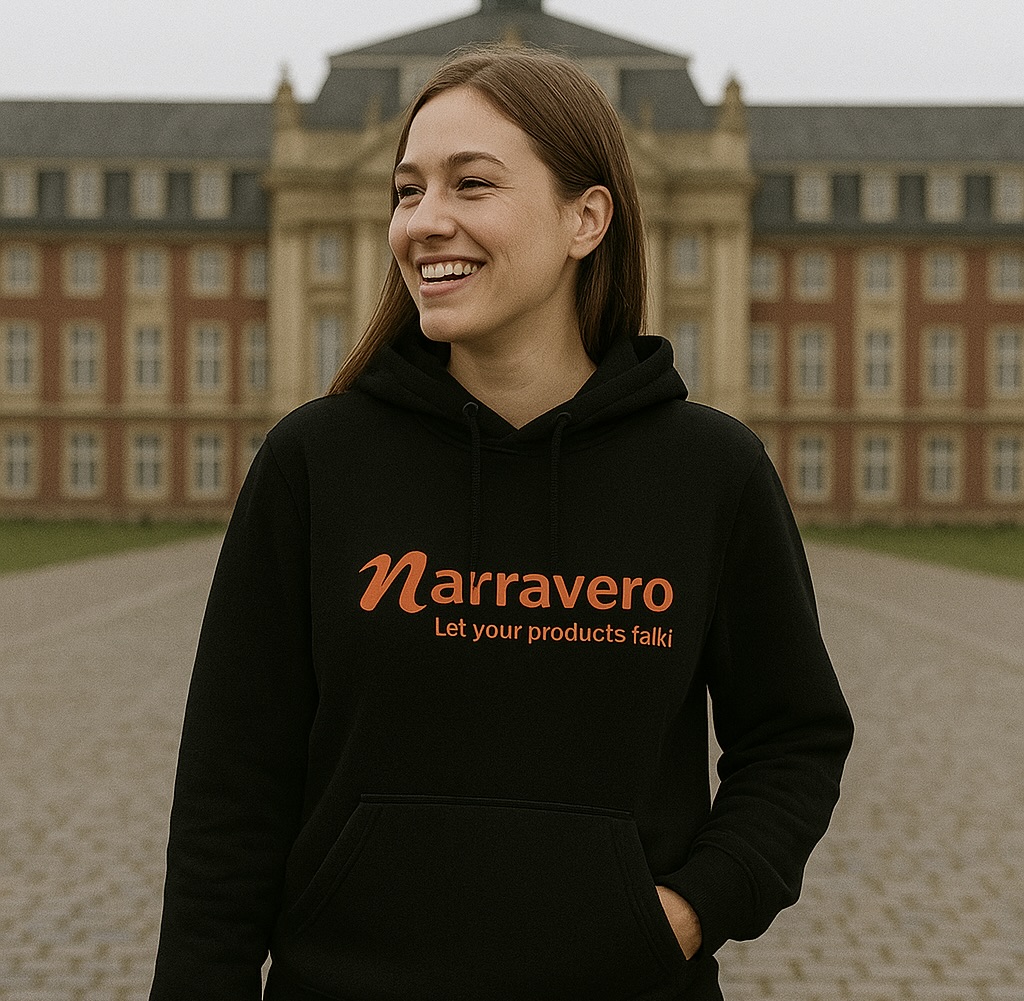
- Click Add Element → Billboard Image.
💡 Tip: Use a Billboard Image instead of a regular image. Billboard images stretch to the edges of the screen, creating a smooth and impactful first impression.
- Click the Billboard Image Element on the right side to open the settings panel.
- Set a Name for the element.
- Select the Media File you want to display.
You can also Upload a new Image or Provide a Media URL. - Click Apply.
- The image will now appear in the DPP Preview.
2️⃣ Add a Text Widget
Next, we’ll add a short Introduction Text for the hoodie.
- Click Add Element → Text Widget.
- Click the Text Element on the right side to open the settings panel.
- Set a Name for the text element.
- Add a Title and a short Introduction describing the hoodie.
- Click Apply to display the text in the DPP Preview.
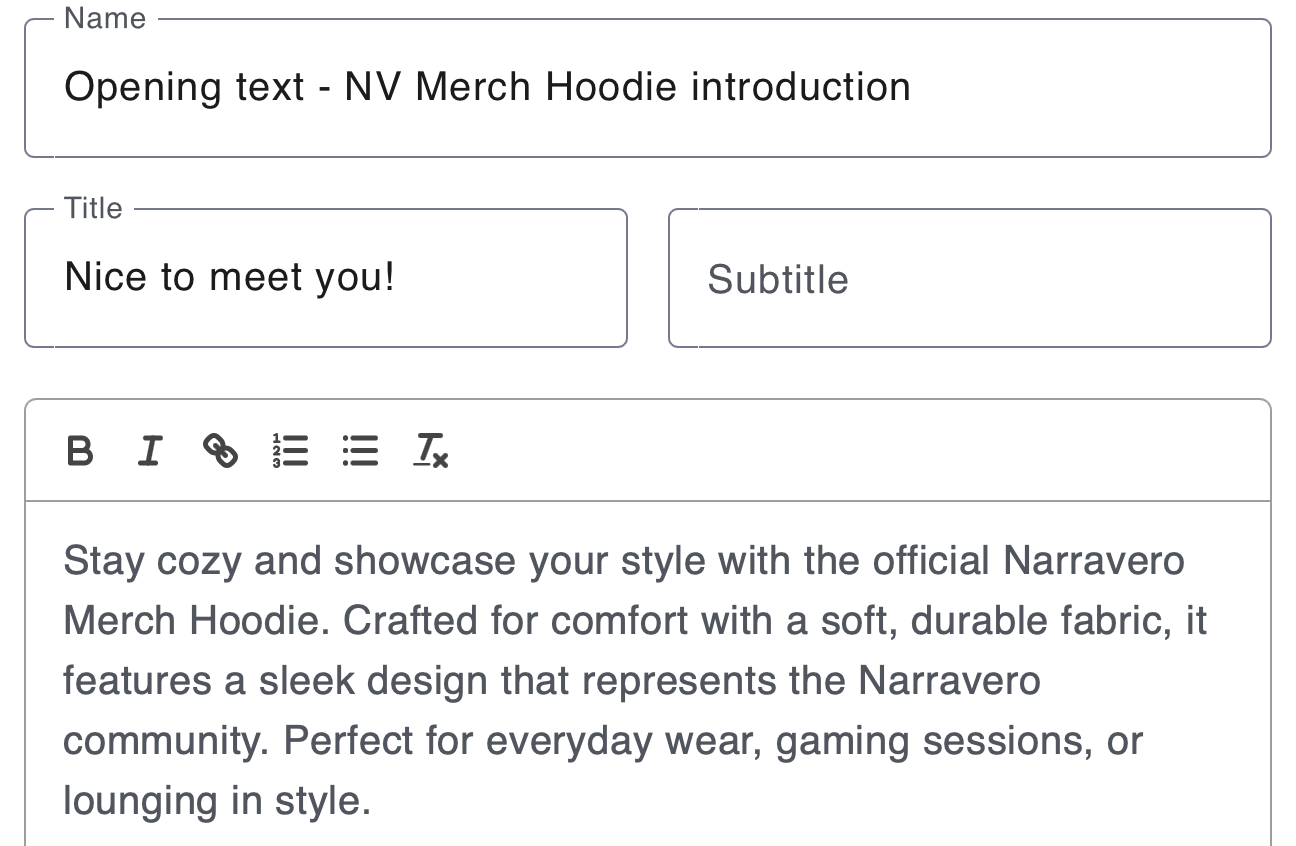
Once the introductory text is applied, you can add more elements to provide customers with detailed product information.
3️⃣ Add an Image Gallery
To showcase multiple images of the hoodies:
- Click Add Element → Image Gallery.
- Open the Settings Panel on the right.
- Set a Name for the gallery element.
- Choose a Layout → select Slider for a smooth scrolling effect.
- Add your static Images from media files.
- Click Apply to preview the Image Gallery.
4️⃣ Add Conditional Text (e.g. Environmental Certification)
You may want some information to appear only under certain conditions, such as text about eco-friendly black hoodies:
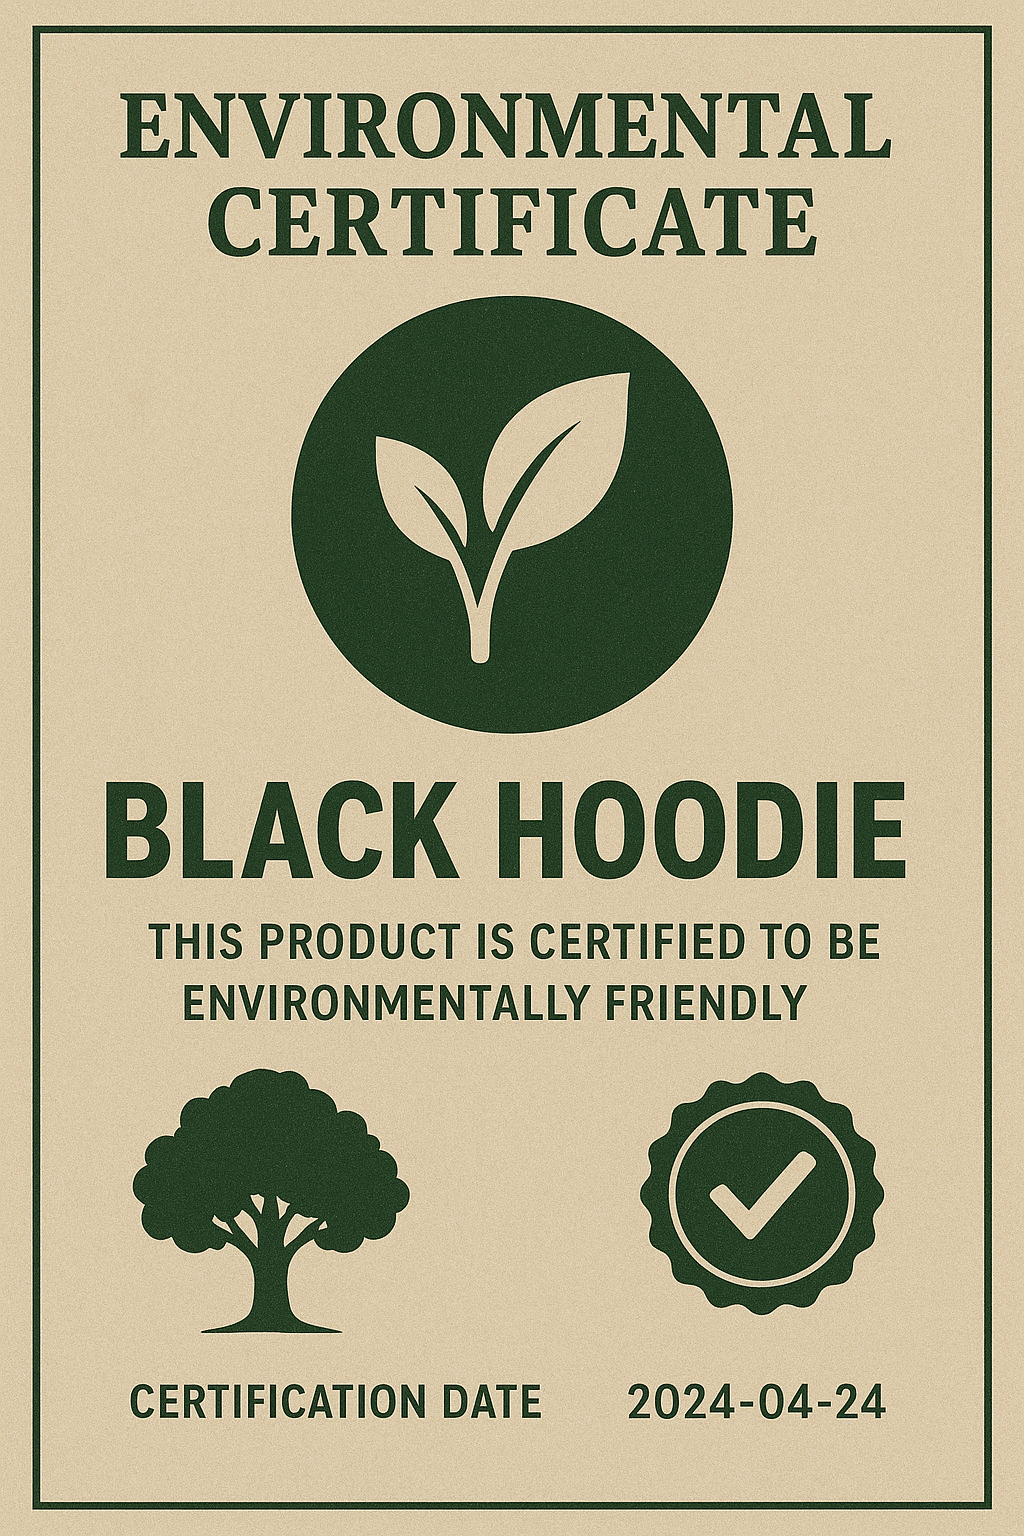
- Click Add Element → Text Widget.
- Name the text element and add the content for the black hoodie.
- Optionally, add an Image (e.g. environmental certification).
- Click Visibility → Add Condition.
- Configure the condition:
- Type: Comparison
- Field:
color - Operator:
is - Value:
Black
💡 Tip: When creating keys and values, start keys with a lowercase letter and values with an uppercase letter for consistent formatting. - Click Apply to save.
5️⃣ Add Care & Use Information
- Click Add Element → Text Widget.
- Name the element.
- Add content with washing and care instructions for the hoodie.
- Click Apply to display the information.
6️⃣ Add Tridy Information
To use Dynamic Content, the Narravero System requires Tridys to be created with the relevant information. You can create and populate a Tridy using either the API interface or the Tracer App. Click here for more information!
- Click Add Element → Text Widget.
- Name the element.
- Insert dynamic content using the Tridy information of the hoodie.
To do this, enter the Tridy keys in the following format:${key}.
Use the “{}” icon in the text widget header to quickly view all available keys in this DPP.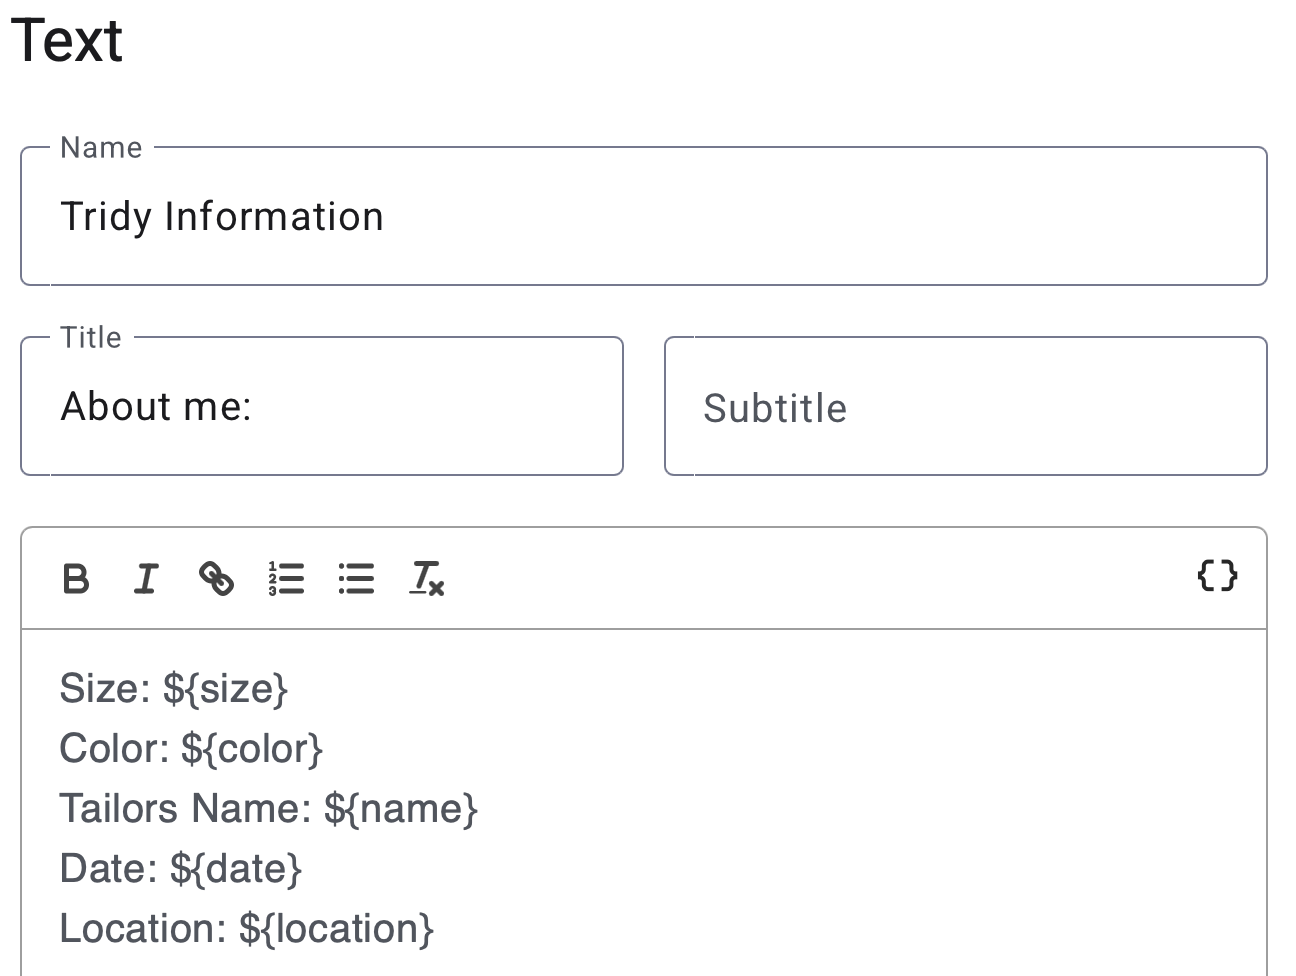
- Click Apply to display the information.
7️⃣ Add a Button for More Information
- Click Add Element → Button.
- Open the settings panel and set a Name for the button.
- Add a Title and URL to direct customers to more information.
- Customize Colors for the background, border, and text.
- Click Apply to save.
8️⃣ Add Social Media Links
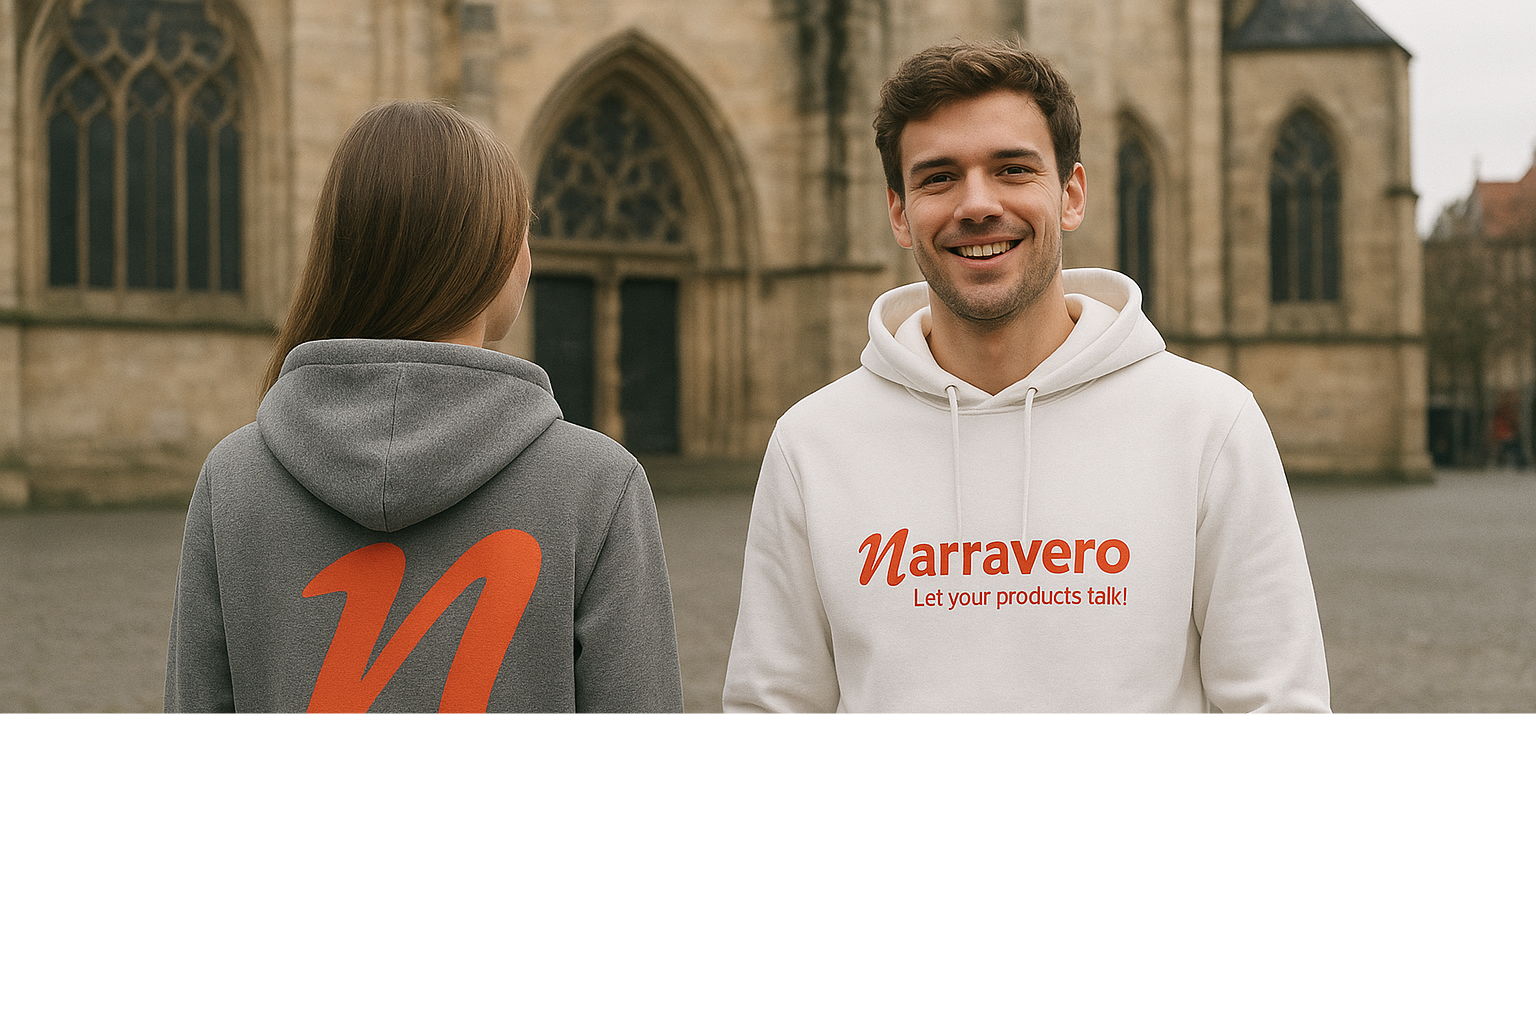
- Click Add Element → Social Media.
- Open the settings panel and enter a Name for the element.
- Choose an Image to overlay the social media icons.
💡 Tip: Select an image with a light background at the bottom so links are clearly visible.
- Select Social Media Channels (e.g., YouTube, LinkedIn).
- Add the corresponding Links.
- Click Apply to save.
Step 4: Translate Your DPP
- Enter Translation Mode
Click “Translate” in the DPP Publisher.
You’ll now enter Translation Mode, this is confirmed by the label “Translation Mode” in the header. - Select a Language
Choose the language you want to translate into. In this example, there’s only one additional language besides the default, so we select German. - Understand the Default Language
Your Default Language serves as the foundation for your DPP. If you don’t modify an element, it will continue to appear in the default language, in our case, English. - Identify Elements to Translate
Before translating, check which elements need to be. For this example, we’ll translate:- All Text Widgets
- The Button Widget text
- Translate Text Widgets
Open the Settings of a Text Widget. Replace the English text with its German Translation. Once new text is entered, the English version will automatically be replaced. - Compare with Original Text
Use the top-right corner toggle to view the original English text. This allows you to compare both versions side by side and ensure translation accuracy.
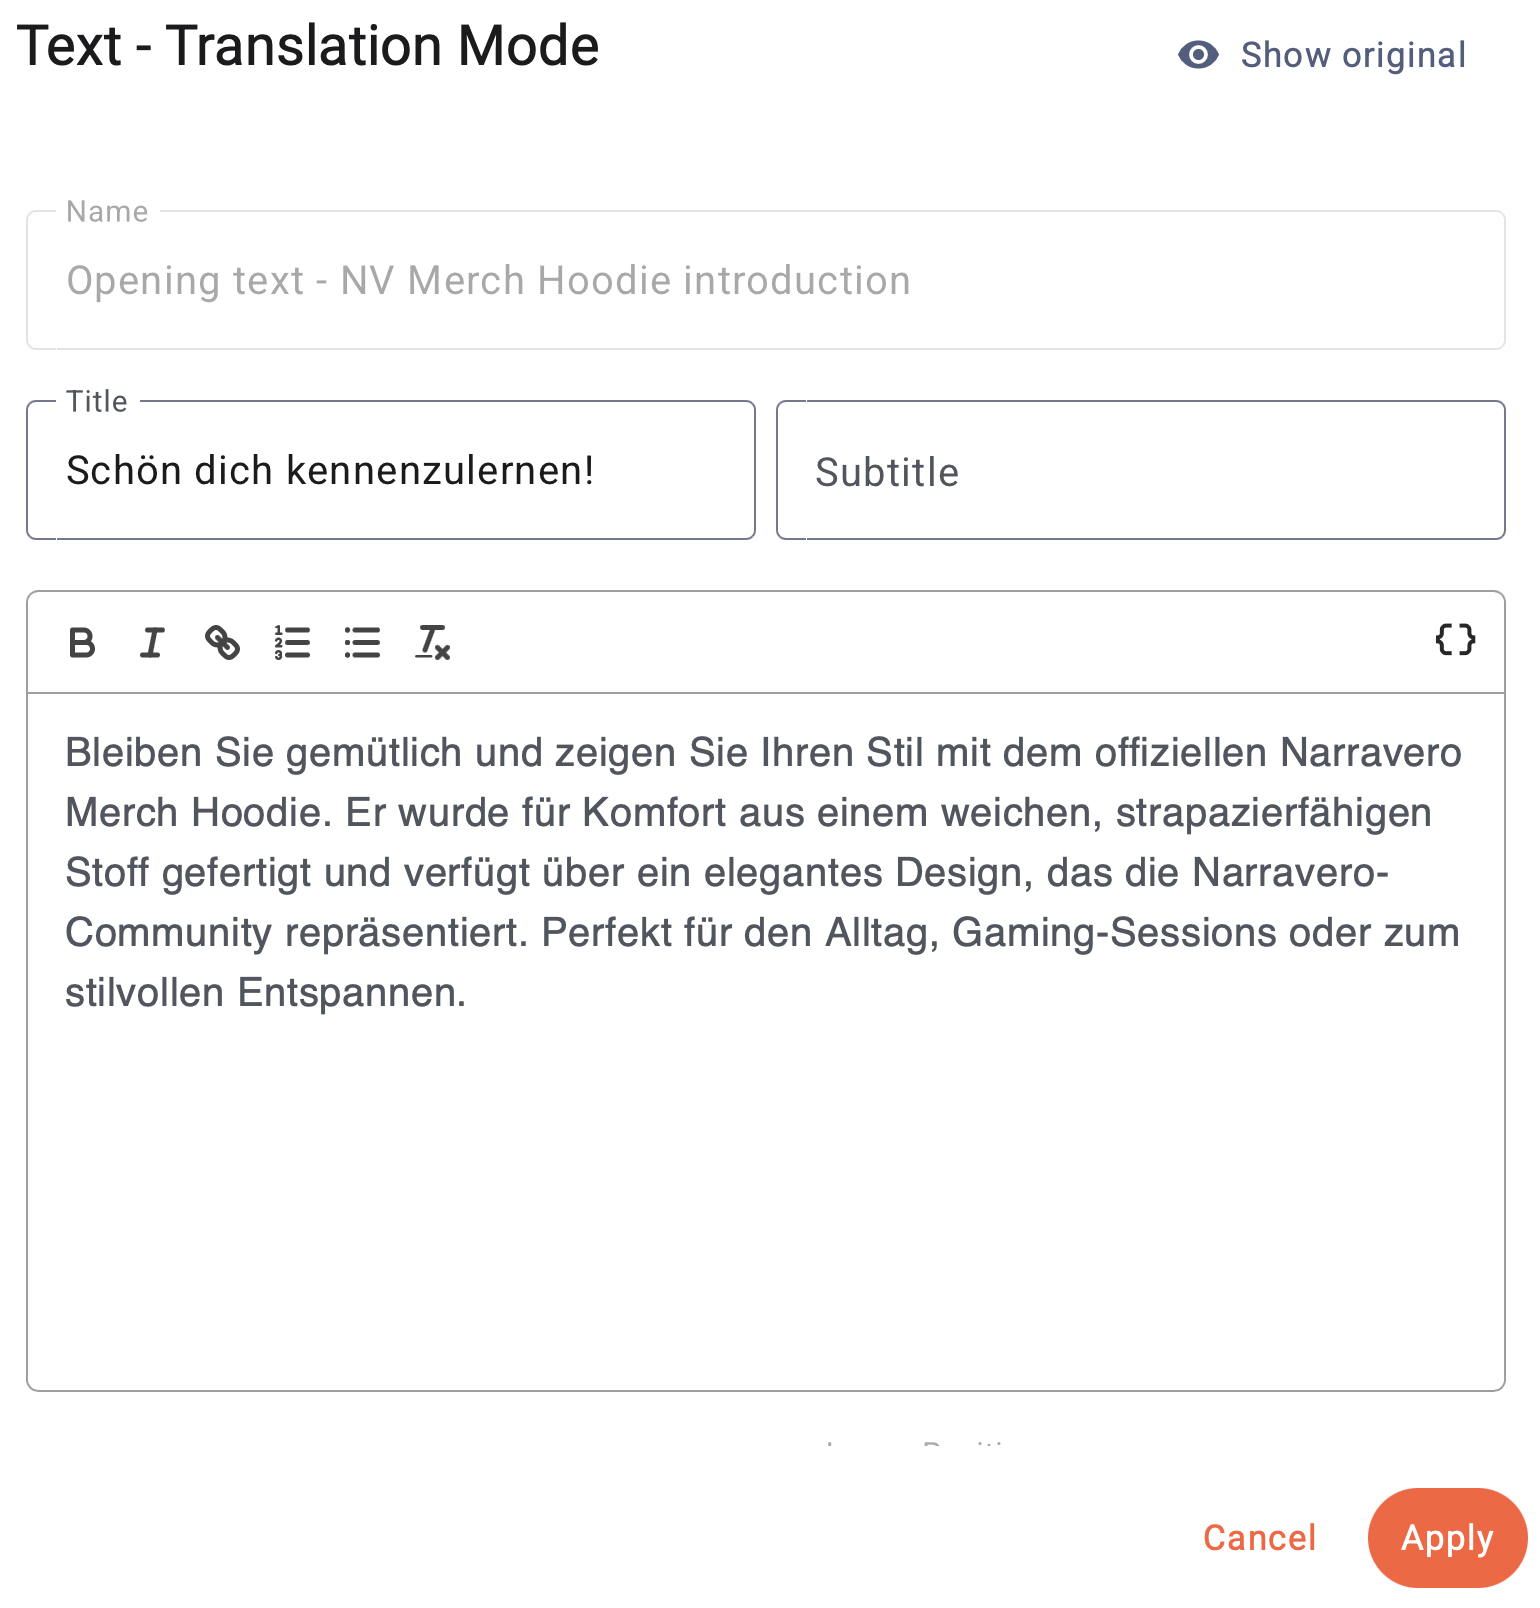
This way, you can translate all Text Widgets and the Button Widget in your DPP.
🖼️ Step 5: Set a Cover Image
It’s important to add a Cover Image for your DPP.
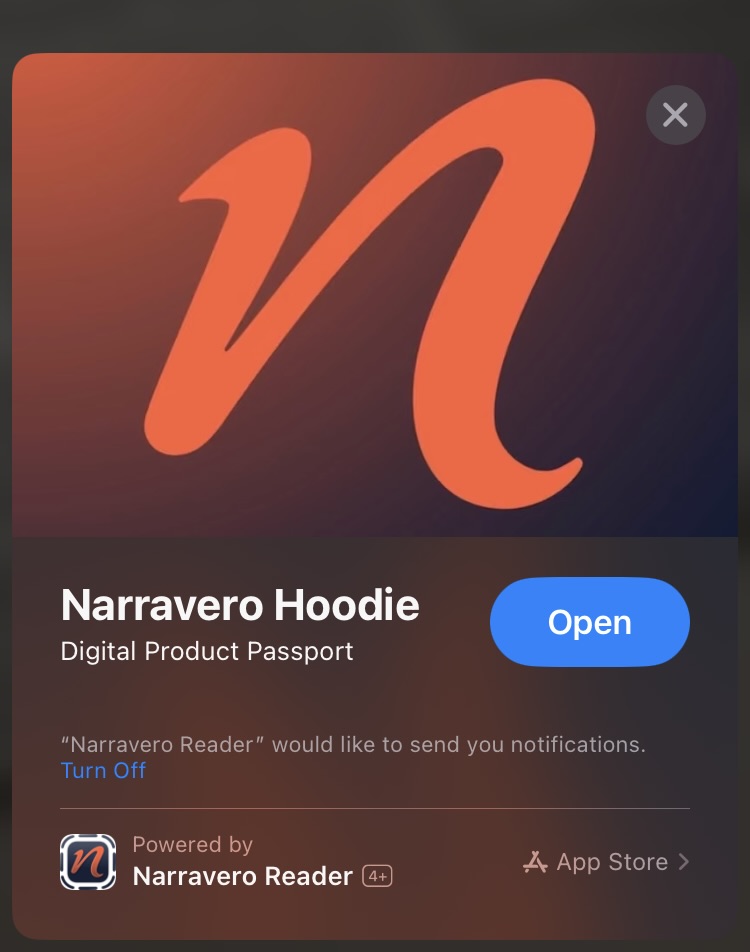
The cover image allows you to:
- Display a preview for your DPP
The Cover Image has to be 1800x 1200px.
How to Add a Cover Image
- Go back to the DPP Publisher.

- Select your template, NV Merch - Hoodie.
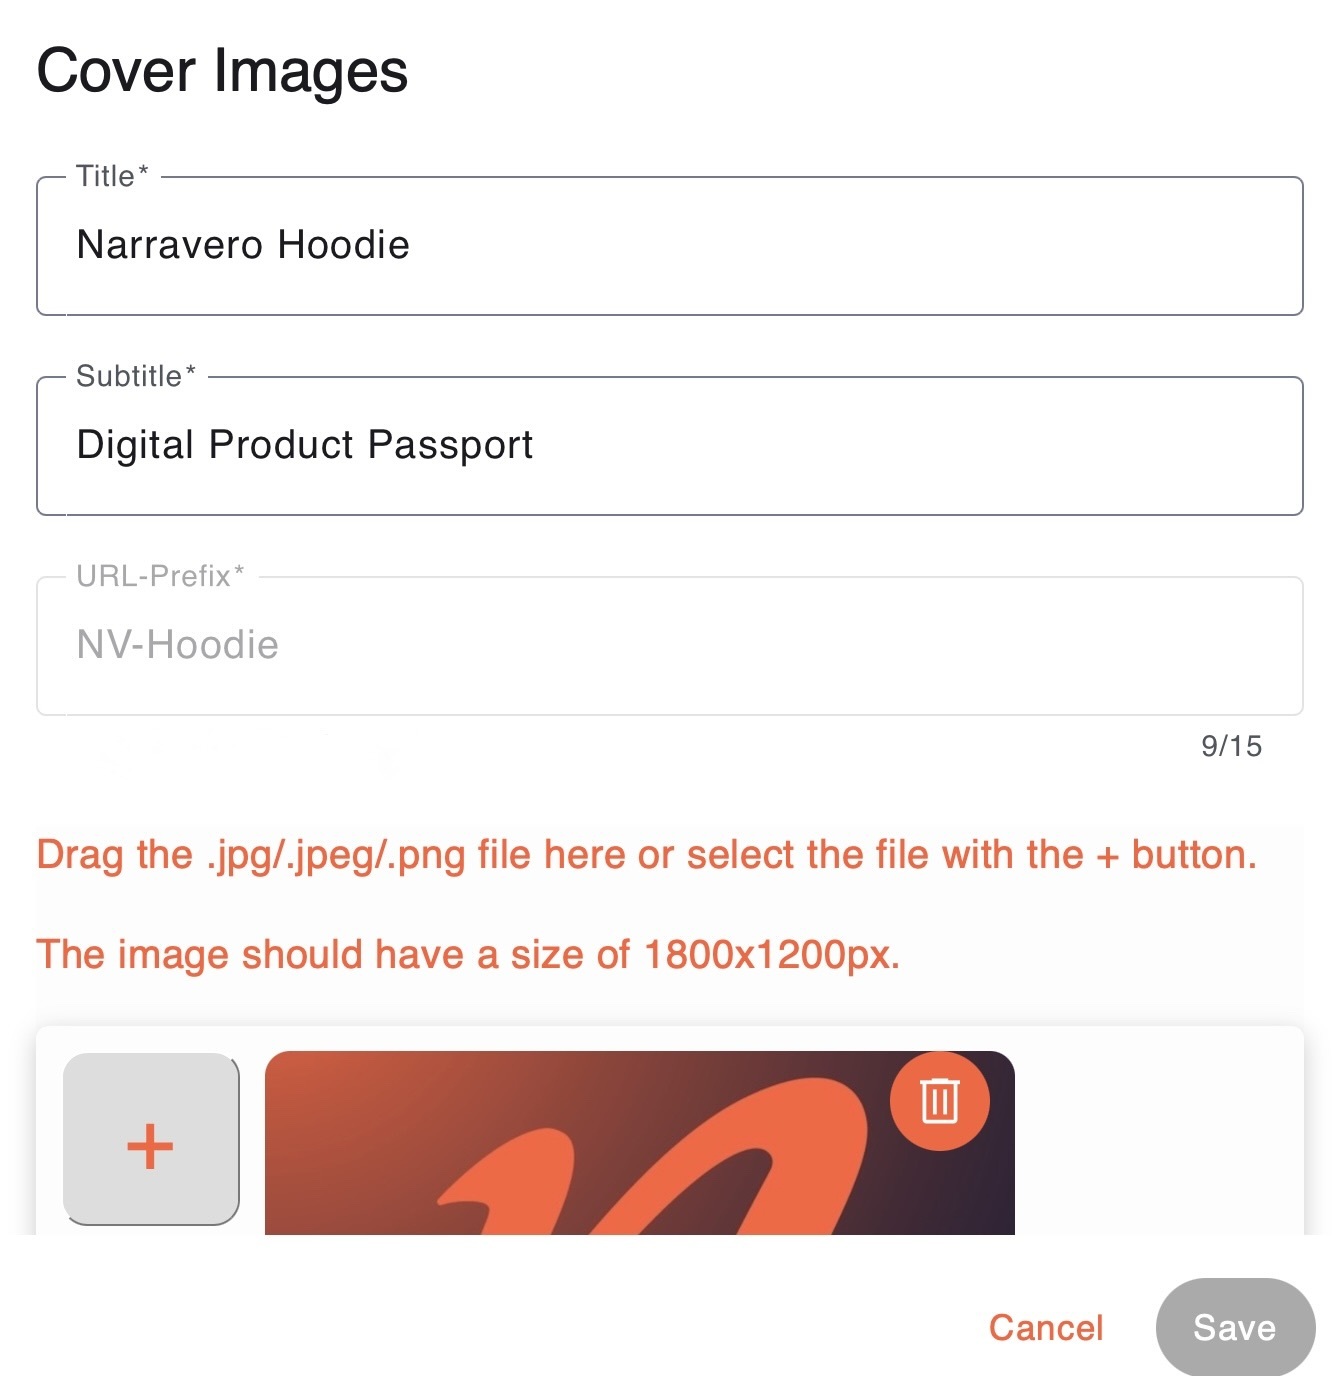
- Click Cover Image.
- Choose an image and fill in the required fields:
- Title
- Subtitle
Title and subtile can be a maximum of 32 characters, including spaces.Important : Once set, the Cover Image, Title, and Subtitle cannot be changed. Choose them carefully before saving ⚠️ - Click Save to apply your cover image.
✅ Step 6: Publish Your DPP
Once all elements have been added and customized, your Digital Product Passport (DPP) is complete. It now displays all relevant information about the product.
Example QR-Link: NV - Merch Hoodie (Black)
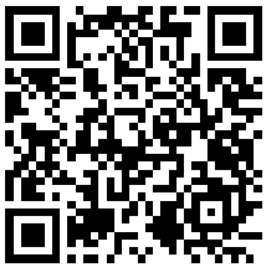
Example QR-Link: NV - Merch Hoodie (Orange)